![]()
| Main Menu |
| Shortcuts | |
|
ID Manager |
|
Mail Distributor |
ID Manager - Getting Started Guide- |
Chapter 1 Introduction
The computer usage grows rapidly to all ages in the society. There are varied things becoming computerized everyday. The time sitting in front of computers is getting more and more. It seems like if you do not spend time on computers, you were not living in this era.
However, more frequent using the computers, there are more problems are found. By using more Internet services, you have to memorizemore login names and passwords. A single person may have a hundred or more accounts over the virtual world, but how could you remember allof them. If you write down those login names and passwords on your booklet, isn't it insecure? The answer is obvious.
Due to manage accounts effectively, IDManagerwas invented. You can organize the data very well; you can also use masking to hide your passwords. By using ID Manager, you just need to remember one password.
ID Manager's features could bring convenience to your daily life.Please use it and enjoy your Internet life with relaxing.
Chapter 2 Set up ID Manager
In this chapter, we are going to demonstrate how to begin and use ID Manager.
We use actual images to show where to download from and how to set it up step by step.
1. Download
ID Manager is an application and uses for Internet Accounts management
At first, you go and download ID Manager.
You will see "Shortcut" on the left side of the main page
Website address is as following
http://www.woodensoldier.info/en/index.htm
On the left side column of Main Menu, there is SOFTWARE.
If you click on Software Room, it brings you to the download page.
At the page of SOFTWARE ROOM, you could find ID Manager Download item.
After found the ID Manager, please click on "see more details"
This is ID Manager's main page. Let's download the ID Manager application.
If you go down a little on this page, you will see the latest ID Manager version to download
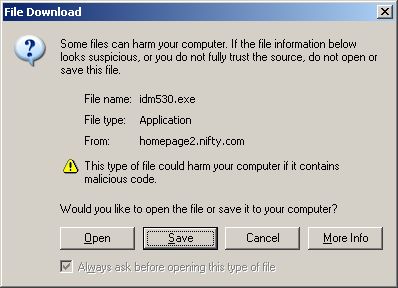
Download dialogue shows and then choose "Save".
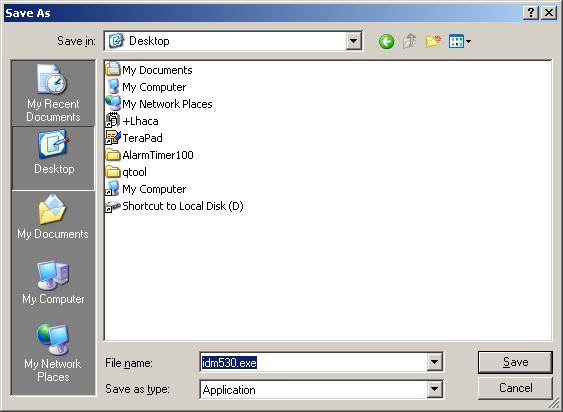
Computer will show you the file title and ask where to save it. We suggest you to choose and save on the Desktop first. On the dialogue left side, you could choose Desktop.
And then, you could click on "Save"
You have just completed the ID Manager download. You will find a new icon on the desktop.That is ID Manager's file. We are going to introduce you how to install ID Manager on your computer on the next step
2. Installation

After downloaded the ID Manager application, you found this “idm530.exe” file on your desktop. Then, double click on the icon to start the installation.
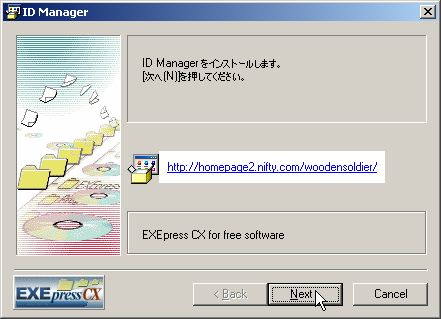
This ID Manager Download dialogue shows right after clicked on the icon. You should click on “Next.”
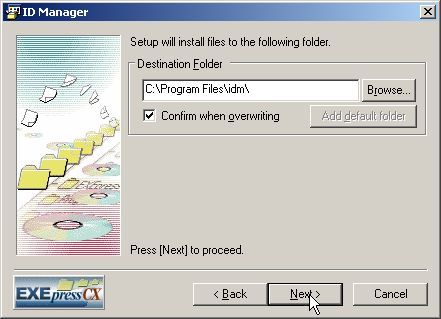
Make sure where you are going to save the file by using Browse. Or you could use your computer’s default of destination folder. Then click on “Next.” It will pop out a Confirmation box and click on “Ok.”
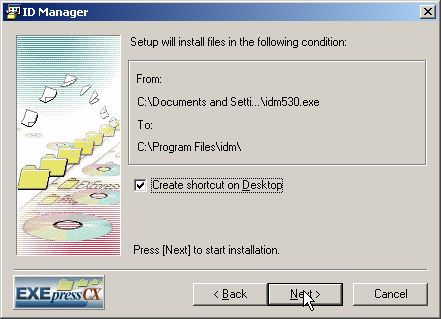
Confirmation dialogue, click on “Next.”
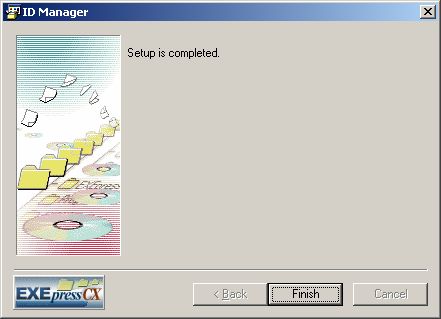
Set Up completed. This means that you set up ID Manager in your computer successfully.
Chapter 3 Basic usage of ID Manager
1. Begin and set up the files within ID Manager
Double click on the shortcut icon of ID Manager on your desktop

This is ID Manager Login setting picture.
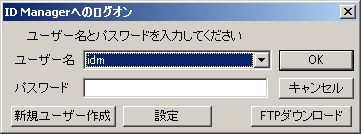
You click on “New User” and set up your own name and password in order to have ID Manager user.
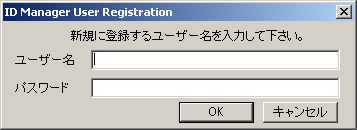
New user registration dialogue showed.
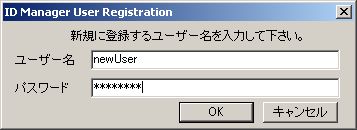
Then, type in your User name and password. Please don’t forget this password.
Then, click on “Ok.” You could use your login and password now.
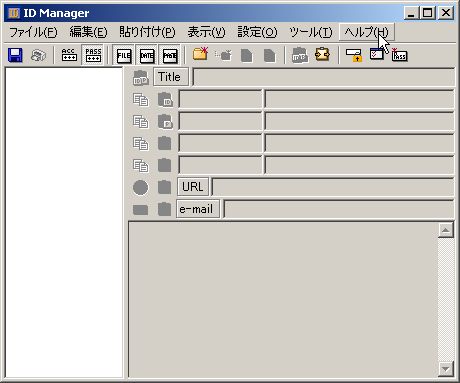
After login your user name and password, this is ID Manager’s Main page.
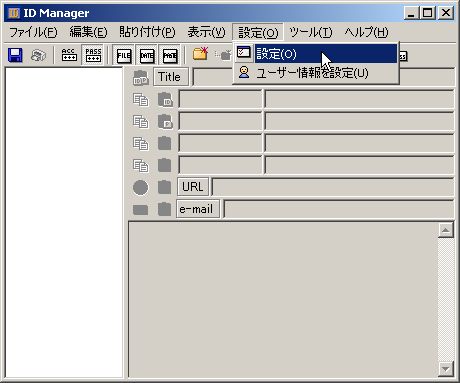
You could go to Option and make your own layout, if you want something different from the default setting.
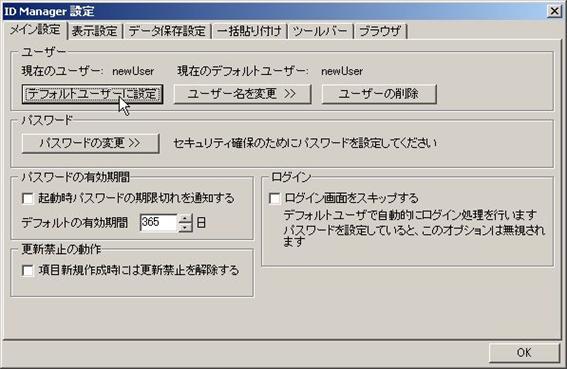
Then, you jump from the Main Page to the Option page. If you want to keep the Default Setting, then click on “Default Setting.” This is for the current user’s page setting.
There is a Setting option placed in the beginning of the user’s login dialogue box. You could save some time to change the page’s setting by using it. You type in the password and you click on “OK”
After decided the page setting, click on “OK.”
2. Make a folder
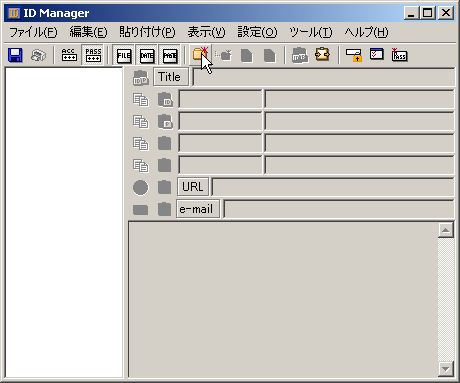
Let us make a folder. Clicking on the Folder icon is making a new folder.
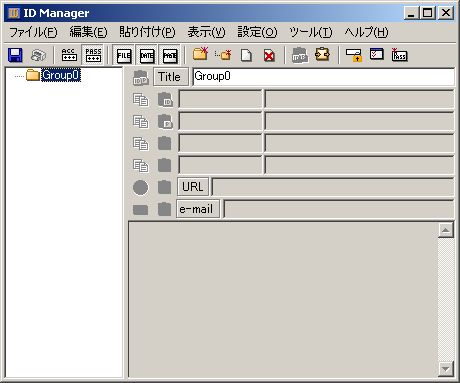
After typed in the new folder’s title, the left column shows the entitled folder.

If you want to change the folder’s name, you could edit the title on the first row of right column. “Internet” changed from “Group0”
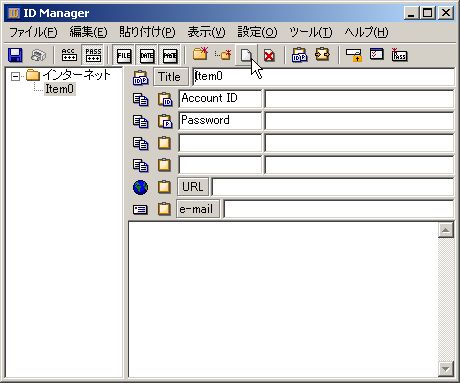
Under the folder, you could make items by clicking the shortcut shown as a white sheet on the tool bar. The new item named as Item0.
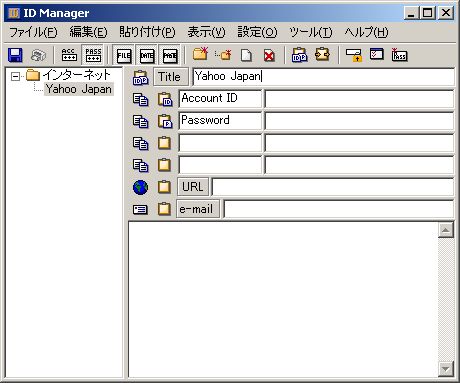
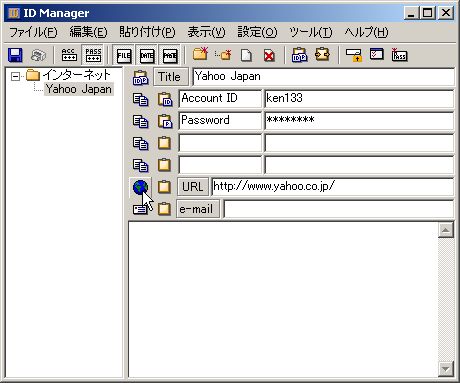
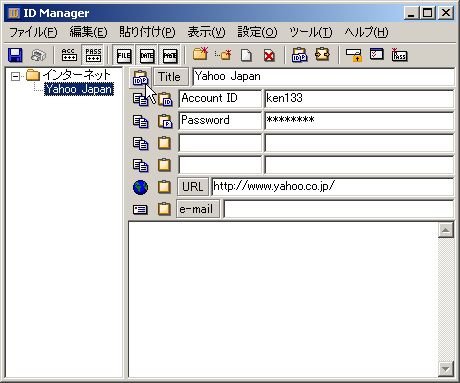
After clicked and created the new item, you could change and name it, as you want. This is an example of that I changed from Item0 to Yahoo.
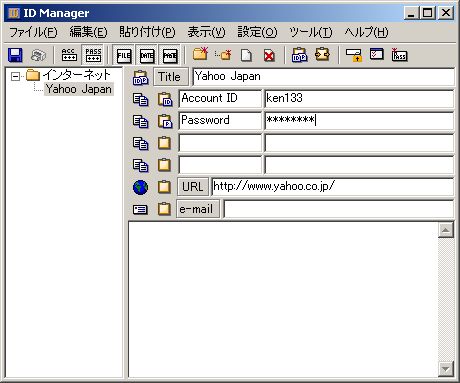
Under this item, you could type in your Account ID and the Password as well as the URL address. That is, I could login my Account ID and Password by going to the page of http://www.yahoo.com.
3. Copy and pass
Let’s try to use ID Manager to login Yahoo.
Click on the URL address from ID Manager.
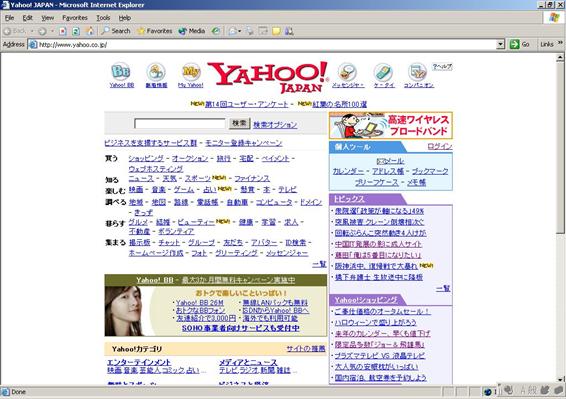
Internet Explorer will automatically pops out the page of Yahoo.
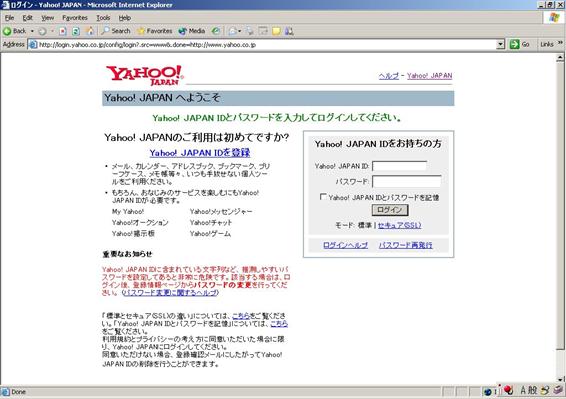
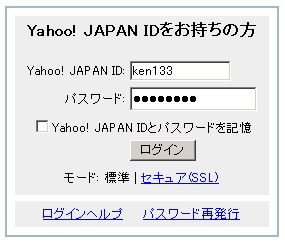
Click on “Log In” and it will show.
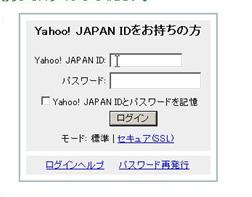
First, click and place your mouse arrow inside of Yahoo ID.
At ID Manger, page of Yahoo, you click on the icon left side of Title.
Then, it automatically full filled with your ID and Password on the Yahoo login and password field.
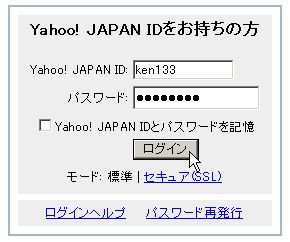
Then, you click on Log In.
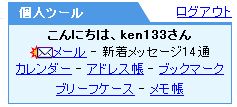
Login is completed.
We have just finished basic usage of ID Manager.##
Copyright(c) 2007 WoodenSoldier Software |